
ClipOval介绍
ClipOval是裁剪子组件为椭圆的组件,默认情况下,将轴对齐的椭圆内切到其布局尺寸中,并防止其子项在该椭圆外绘制,但可以使用自定义剪刀自定义剪辑椭圆的大小和位置。
示例代码
本文中很多效果都没有截图,可下载源代码运行项目 源代码地址,或者通过视频教程查看 视频教程地址
什么情况下使用ClipOval?
当我们需要对子组件进行椭圆裁剪时我们就用ClipOval,常用于圆角头像等。
ClipOval的属性和说明
| 字段 | 属性 | 描述 |
|---|---|---|
| clipper | CustomClipper |
自定义裁剪 |
| clipBehavior | Clip | 子组件边缘裁剪的方式,默认Clip.hardEdge |
| child | Widget | 子组件 |
ClipOval使用
ClipOval基本使用
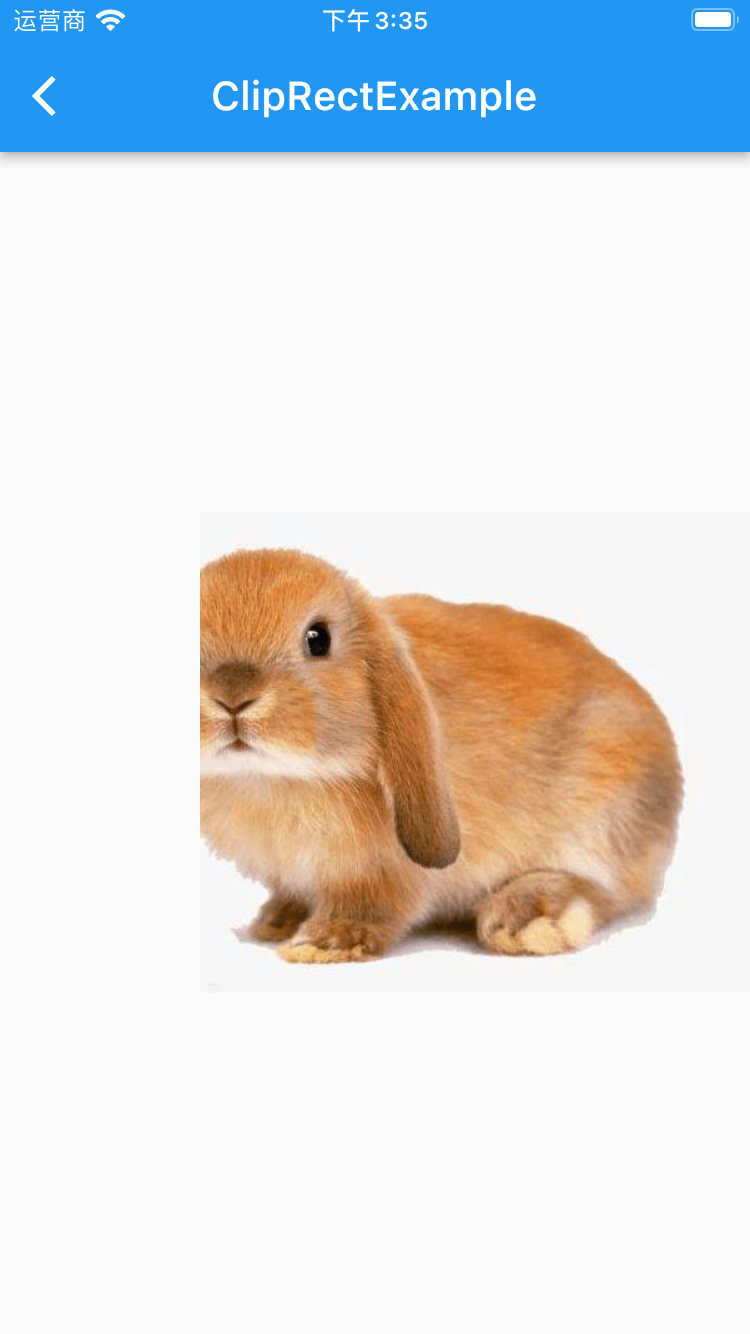
我们这里展示一张图片,用ClipOval进行包裹裁剪为椭圆,当超出的不飞粉将会被裁剪。
1
2
3
4
5
6
7
8
9
10
11
12
13
14
15
16
17
18
19
20
21
22
23
24
25
26
import 'package:flutter/material.dart';

class ClipOvalExample extends StatelessWidget {
  @override
  Widget build(BuildContext context) {
    return Scaffold(
      appBar: AppBar(
        title: Text("ClipRectExample"),
      ),
      backgroundColor: Colors.red.shade100,
      body: Center(
        child: Column(
          mainAxisAlignment: MainAxisAlignment.center,
          crossAxisAlignment: CrossAxisAlignment.center,
          children: [
            ClipOval(
              /// 自定义裁剪路径
              // clipper: ClipperPath(),
              child: Image.network("https://img1.baidu.com/it/u=2324541312,3167046558&fm=253&fmt=auto&app=120&f=JPEG?w=601&h=400"),
            ),
          ],
        ),
      ),
    );
  }
}
效果展示

ClipOval自定义裁剪使用
第一步:定义自定义裁剪类
1
2
3
4
5
6
7
8
9
10
11
12
13
import 'package:flutter/material.dart';

class ClipperOvalPath extends CustomClipper<Rect>{
  @override
  Rect getClip(Size size) {
    return Rect.fromLTRB(50, 50, size.width - 20, size.height - 20);
  }

  @override
  bool shouldReclip(CustomClipper<Rect> oldClipper) {
    return false;
  }
}
第二步:使用自定义裁剪
1
2
3
4
5
6
7
8
9
10
11
12
13
14
15
16
17
18
19
20
21
22
23
24
25
26
27
import 'package:flutter/material.dart';
import 'package:flutter_code/ClipOvalExample/ClipperOvalPath.dart';

class ClipOvalExample extends StatelessWidget {
  @override
  Widget build(BuildContext context) {
    return Scaffold(
      appBar: AppBar(
        title: Text("ClipRectExample"),
      ),
      backgroundColor: Colors.red.shade100,
      body: Center(
        child: Column(
          mainAxisAlignment: MainAxisAlignment.center,
          crossAxisAlignment: CrossAxisAlignment.center,
          children: [
            ClipOval(
              /// 自定义裁剪路径
              clipper: ClipperOvalPath(),
              child: Image.network("https://img1.baidu.com/it/u=2324541312,3167046558&fm=253&fmt=auto&app=120&f=JPEG?w=601&h=400"),
            ),
          ],
        ),
      ),
    );
  }
}
效果展示
ClipPath介绍
ClipPath是可以使用路径裁剪,每当要绘制子组件时,对委托调用回调。 回调返回一个路径,并且子组件阻止在路径外绘画。
什么情况下使用ClipPath?
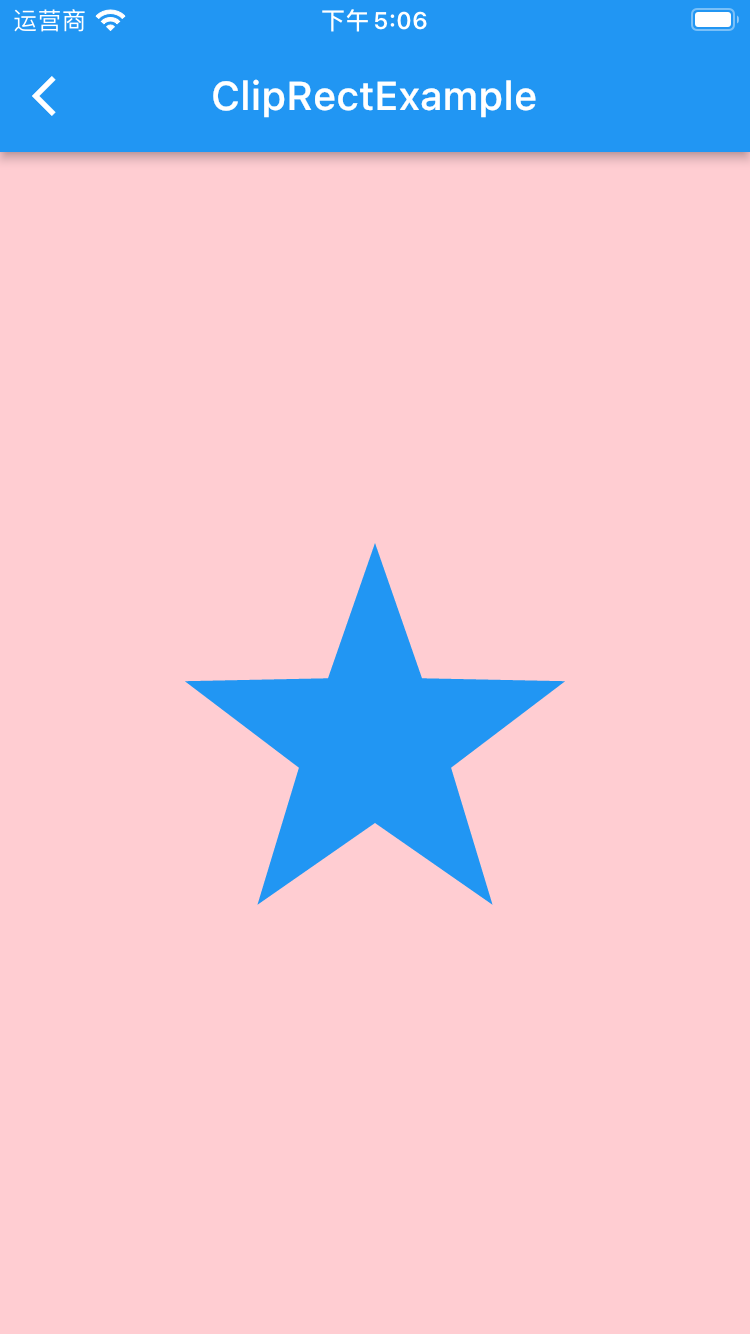
需要只做一些特殊的形状是,比如五角星,那我们就需要用ClipPath。
ClipPath的属性和说明
| 字段 | 属性 | 描述 |
|---|---|---|
| clipper | CustomClipper |
自定义裁剪 |
| clipBehavior | Clip | 子组件边缘裁剪的方式,默认Clip.hardEdge |
| child | Widget | 子组件 |
ClipPath的基本使用
第一步:自定义裁剪类(五角星)
1
2
3
4
5
6
7
8
9
10
11
12
13
14
15
16
17
18
19
20
21
22
23
24
25
26
27
28
29
30
31
32
33
34
35
36
37
38
39
40
41
42
43
44
45
46
47
48
49
50
51
52
53
import 'dart:math';

import 'package:flutter/material.dart';

class ClipStarPath extends CustomClipper<Path> {
  ClipStarPath({this.scale = 2.5});

  final double scale;

  double perDegree = 36;

  /// 角度转弧度公式
  double degree2Radian(double degree) {
    return (pi * degree / 180);
  }

  @override
  Path getClip(Size size) {
    var R = min(size.width / 2, size.height / 2);
    var r = R / scale;
    var x = size.width / 2;
    var y = size.height / 2;

    var path = Path();
    path.moveTo(x, y - R);
    path.lineTo(x - sin(degree2Radian(perDegree)) * r,
        y - cos(degree2Radian(perDegree)) * r);
    path.lineTo(x - sin(degree2Radian(perDegree * 2)) * R,
        y - cos(degree2Radian(perDegree * 2)) * R);
    path.lineTo(x - sin(degree2Radian(perDegree * 3)) * r,
        y - cos(degree2Radian(perDegree * 3)) * r);
    path.lineTo(x - sin(degree2Radian(perDegree * 4)) * R,
        y - cos(degree2Radian(perDegree * 4)) * R);
    path.lineTo(x - sin(degree2Radian(perDegree * 5)) * r,
        y - cos(degree2Radian(perDegree * 5)) * r);
    path.lineTo(x - sin(degree2Radian(perDegree * 6)) * R,
        y - cos(degree2Radian(perDegree * 6)) * R);
    path.lineTo(x - sin(degree2Radian(perDegree * 7)) * r,
        y - cos(degree2Radian(perDegree * 7)) * r);
    path.lineTo(x - sin(degree2Radian(perDegree * 8)) * R,
        y - cos(degree2Radian(perDegree * 8)) * R);
    path.lineTo(x - sin(degree2Radian(perDegree * 9)) * r,
        y - cos(degree2Radian(perDegree * 9)) * r);
    path.lineTo(x - sin(degree2Radian(perDegree * 10)) * R,
        y - cos(degree2Radian(perDegree * 10)) * R);
    return path;
  }

  @override
  bool shouldReclip(ClipStarPath oldClipper) {
    return oldClipper.scale != this.scale;
  }
}
第二步:使用自定义裁剪
1
2
3
4
5
6
7
8
9
10
11
12
13
14
15
16
17
18
19
20
21
22
23
24
25
26
27
28
29
30
import 'package:flutter/material.dart';
import 'package:flutter_code/ClipOvalExample/ClipStarPath.dart';

class ClipOvalExample extends StatelessWidget {
  @override
  Widget build(BuildContext context) {
    return Scaffold(
      appBar: AppBar(
        title: Text("ClipRectExample"),
      ),
      backgroundColor: Colors.red.shade100,
      body: Center(
        child: Column(
          mainAxisAlignment: MainAxisAlignment.center,
          crossAxisAlignment: CrossAxisAlignment.center,
          children: [
            ClipPath(
              clipper: ClipStarPath(),
              child: Container(
                width: 200,
                height: 200,
                color: Colors.blue,
              ),
            )
          ],
        ),
      ),
    );
  }
}
效果展示
总结
ClipOval 主要是对子组件进行裁剪椭圆等效果,而当我们需要对一些子组件定义一些复杂的图形时,我们就需要用到ClipPath。